Taking good photos isn’t just about pressing the shutter button. The work you do in post-production can be a real game-changer.
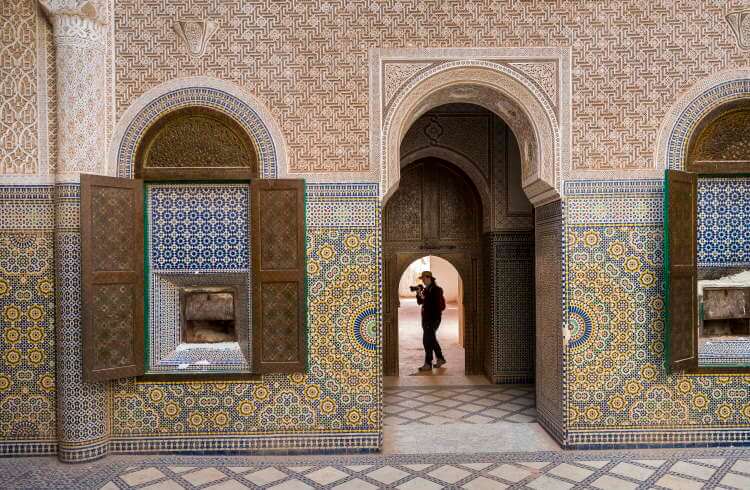
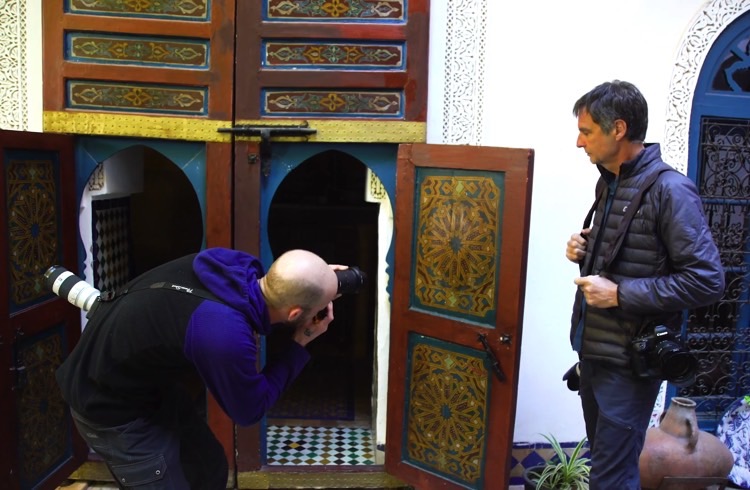
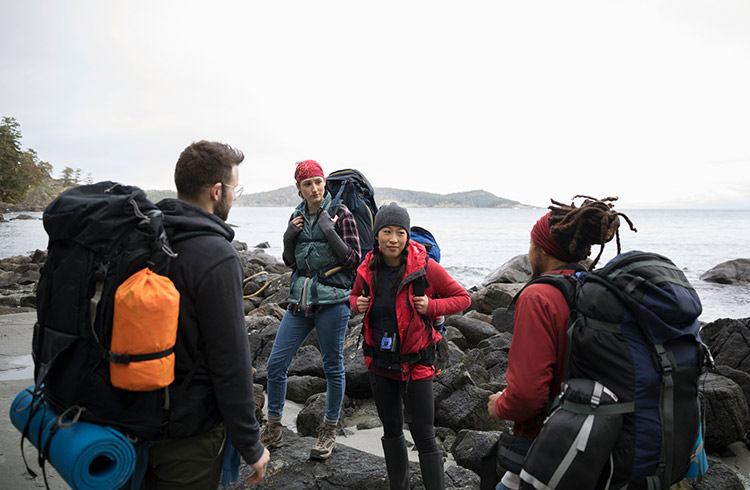
 Photo © Andrés Brenner
Thinking about how to improve your photos of your next trip? Taking good photos isn’t just about pressing the shutter button – even if you pay attention to technical details like composition, exposure, and lighting when taking your photos, there is game-changing extra work to be done in post-production that will take your shots to the next level.
Here are some tips on how to approach the post-production stage.
- The importance of pre-production
- Camera formats
- Must-know tips for shooting RAW
- The better the photo, the better the post-production results
- Mind the story
- Use classifying tools to rank your photos
- Color-correcting your photos
- Final touches on details
- Captions and metadata
- Exporting your photos from Lightroom
The importance of pre-production
Post-production always starts in pre-production. Actually, every single decision you make when packing your photography equipment will have an impact – positive or negative – on the final results of your post-production process.
As a golden rule, bring on your trip the gear you are familiar with. Buying a new camera or fancy accessories prior to a trip may sound exciting, but while many would think that new equipment will directly improve the quality of your photos, it could mean serious risks too: exploring never-ending menus and complex settings of a new camera during a short trip might leave you missing some precious opportunities for amazing photos.
On the other hand, feeling confident with the camera and lenses that you have been using for years will keep you fast and agile during the shoot, letting your mind focus on what really matters: identifying what each scene requires to get the best shot possible.
Camera formats
Your camera setup plays a key role in what you will or won’t be able to do with your photos in post. Nowadays cameras offer a great variety of formats that you can choose from, JPEG and RAW being the most popular ones. The results of your editing process will be highly conditioned by the format you shoot with.
JPEGs are small-sized, highly compressed files where camera settings strongly affect the image, giving you limited recovery options in post. These lossy compressed files are easier to share, they can be opened in most devices, take less space in your memory cards or hard drives, and can be easily uploaded to social media. Sounds tempting, right? They are the perfect choice, but only if you don’t plan to edit your photos.
To work in post-production, RAW is your best editing-friendly option. RAW files are uncompressed and contain unprocessed data from the camera sensor. When you shoot in RAW, the sensor of your camera captures tons of unseen details in the highlights and shadows as well as a much higher dynamic range, both of which will allow you to bring back those details in post. This kind of file is many times larger and requires post-processing, but the extra data recorded opens up a new world of possibilities when being processed with software like Lightroom.
Must-know tips for shooting RAW
One of the most important tips, if you are planning to shoot in RAW, is to plan ahead and bring enough storage space to your trip. Extra memory cards and even an external hard drive are always a good idea for RAW photographers.
Once in the field, “expose for the highlights”: RAW files have incredible detail in the shadows, and you will always be able to develop shadow details in post. However, overexposing the highlights means that details are burnt, there is no information recorded, and therefore it is impossible to recover any details.
The better the photo, the better the post-production results
No matter if you plan to edit your photos, always take the best photo possible. Leaving all the magic for post-processing is a bad idea as you will only be able to adjust in Lightroom what you have already created with your camera.
The flexibility that you get by shooting RAW is great but also limited. You will be tweaking parameters to get the best out of the information that you have already recorded when shooting.
Mind the story
Once you have imported all your content to Lightroom and before you start playing around with the different adjustment sliders take your time to connect with the story you wanted to tell when you took the photo. Lightroom is a super-powerful editing tool that provides your creativity with unlimited possibilities, but always remember that by manipulating the temperature, contrast, noise, and colors of your photos you will be affecting your story. This way you will avoid over-tuning that could end up betraying the story you hoped to tell.
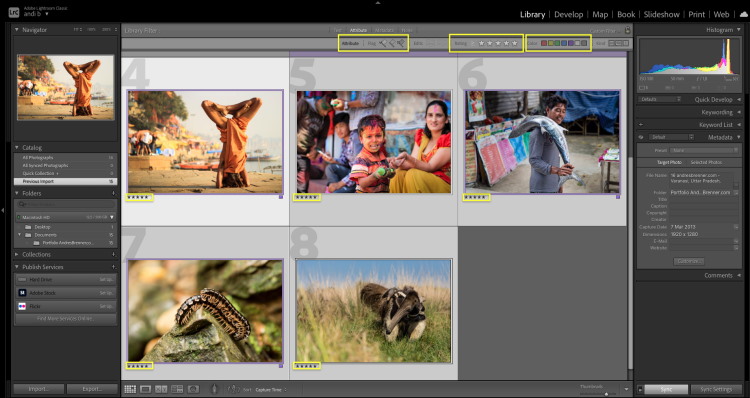
Use classifying tools to rank your photos
In the digital era, only a small percentage of the photos we take are actually worth editing. Thus, good photo processing starts with a conscious selection of the photos we will be working on. Use Lightroom’s classifying tools like stars, flags and colors to create a ranking of photos within your library. It doesn’t matter if you have taken too many photos and the task feels overwhelming; if you are picky you will end up with a short selection of your best photos. Just remember to keep the 5-star ranking for those photos you really love.
Color-correcting your photos
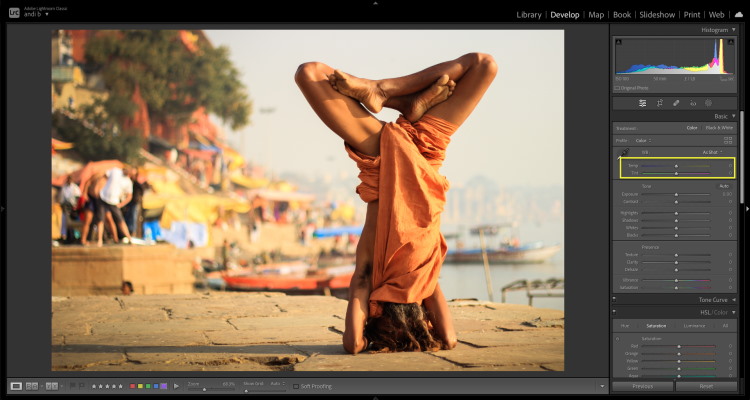
Now that your selection is done it is time to start playing with basic corrections. Over the right margin of your “Develop” module in Lightroom you will find the “Basics” adjustments panel.
Temperature:
You can start by tweaking the temperature of your photo. Pull the slider towards the blues if you want to create a cold atmosphere for your shot or pull it towards the right for a warmer image.
Exposure and contrast:
With the exposure slider, you can adjust how bright and how dark an image is. Use the contrast slider to add some drama to your photos as dark areas become darker and light areas go lighter. Both these sliders will adjust the overall look of your shot.
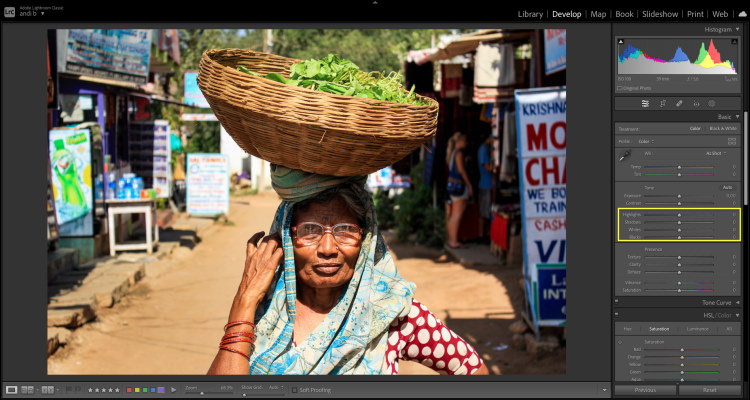
Highlights, shadows, whites, and blacks:
These four together are another way to adjust the exposure and contrast of your photo but, instead of tweaking the overall look, by tweaking these sliders you will be adjusting just certain areas of your photo.
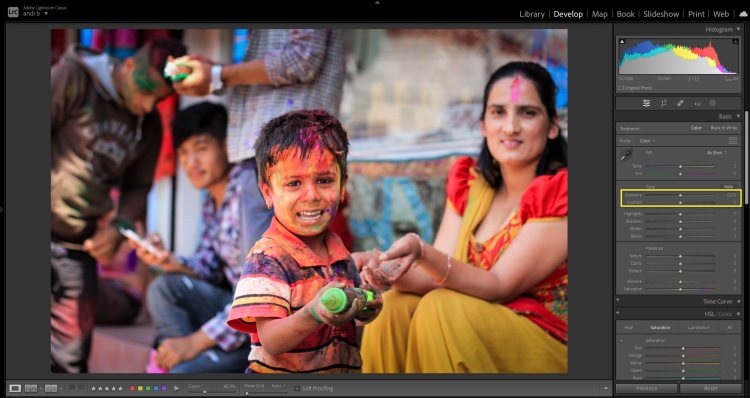
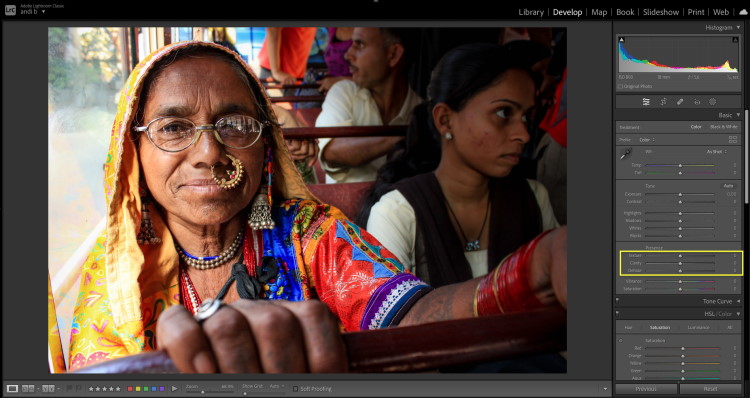
Texture, clarity and dehaze:
The texture slider works on medium-sized details and is useful when working, for example, with hair. Move it all the way to the left and then all the way to the right to understand how it decreases or increases the texture of a photo while keeping fine details.
The clarity slider can be used to add pop to your photo, which will also create a more dramatic atmosphere. Technically what it does is increase or decrease the edge contrast in a photo.
The dehaze slider is useful to restore color and contrast to a washed-out image but be careful not to use it too heavily as it can make colors unrealistic.
There is no “good” or “bad”, “right” or “wrong” when editing: some people may like saturated images while others prefer to go for a more natural look. Whatever looks good to you is OK as long as you are happy with the final results and you feel they represent the story you wanted to tell. If you doubt any of the adjustments you have done, you can go for the safe option and make them a bit more subtle.
Final touches on details
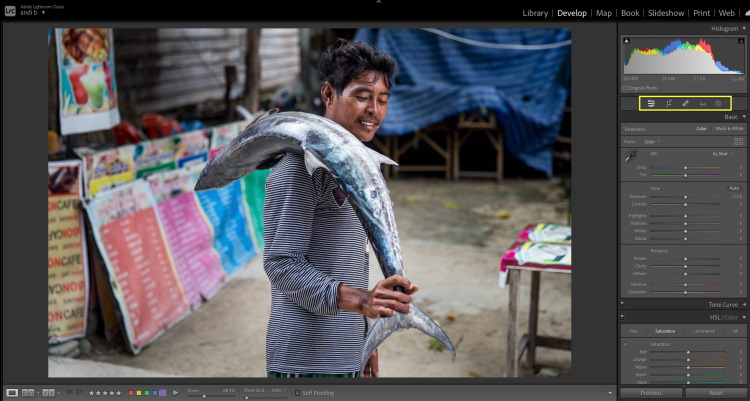
For fine details like color-correcting a very specific area, all of the previous features can be applied selectively. Click the mask button (right below the histogram), choose from the brush, graduated or radial filter and select the area you want to work on. Then apply your adjustments using the same sliders mentioned above.
On the panel below the histogram, you will also find extra features like red-eye correction and a stain remover. All the way on the left of the panel there is a tool that will allow you to crop and straighten the horizon of your photos.
Captions and metadata
The last step before exporting should be adding key information to your files. This should be done in the “metadata” panel of the “Library” module. You can type specific information for each photo, or you can adjust all your photos together by creating presets. To do so, click the “presets” drop-down menu, go to “edit presets” and choose “save current adjustments as a new preset” on the first dropdown menu. Then go back to your library, select all the photos you have been working on and apply the preset you have just created to your selection.

Exporting your photos from Lightroom
Once you have finished all your hard work, on the export panel you will find the final adjustment options including export format (now is the time to choose JPEG), quality (always pick the best possible) and size of the image among others. Make sure you change the resolution to 72 dpi when exporting for screens (including social networks) or 300 dpi when sending to a printer.
And that’s it! Now you’re ready to share your photos with the rest of the world.
Related articles
Simple and flexible travel insurance
You can buy at home or while traveling, and claim online from anywhere in the world. With 150+ adventure activities covered and 24/7 emergency assistance.
Get a quote
No Comments