A Photographer’s Guide to Capturing the Northern Lights
We asked pro photographer Marta Kulesza to unravel the challenges of trying to photograph nature’s most fascinating display.
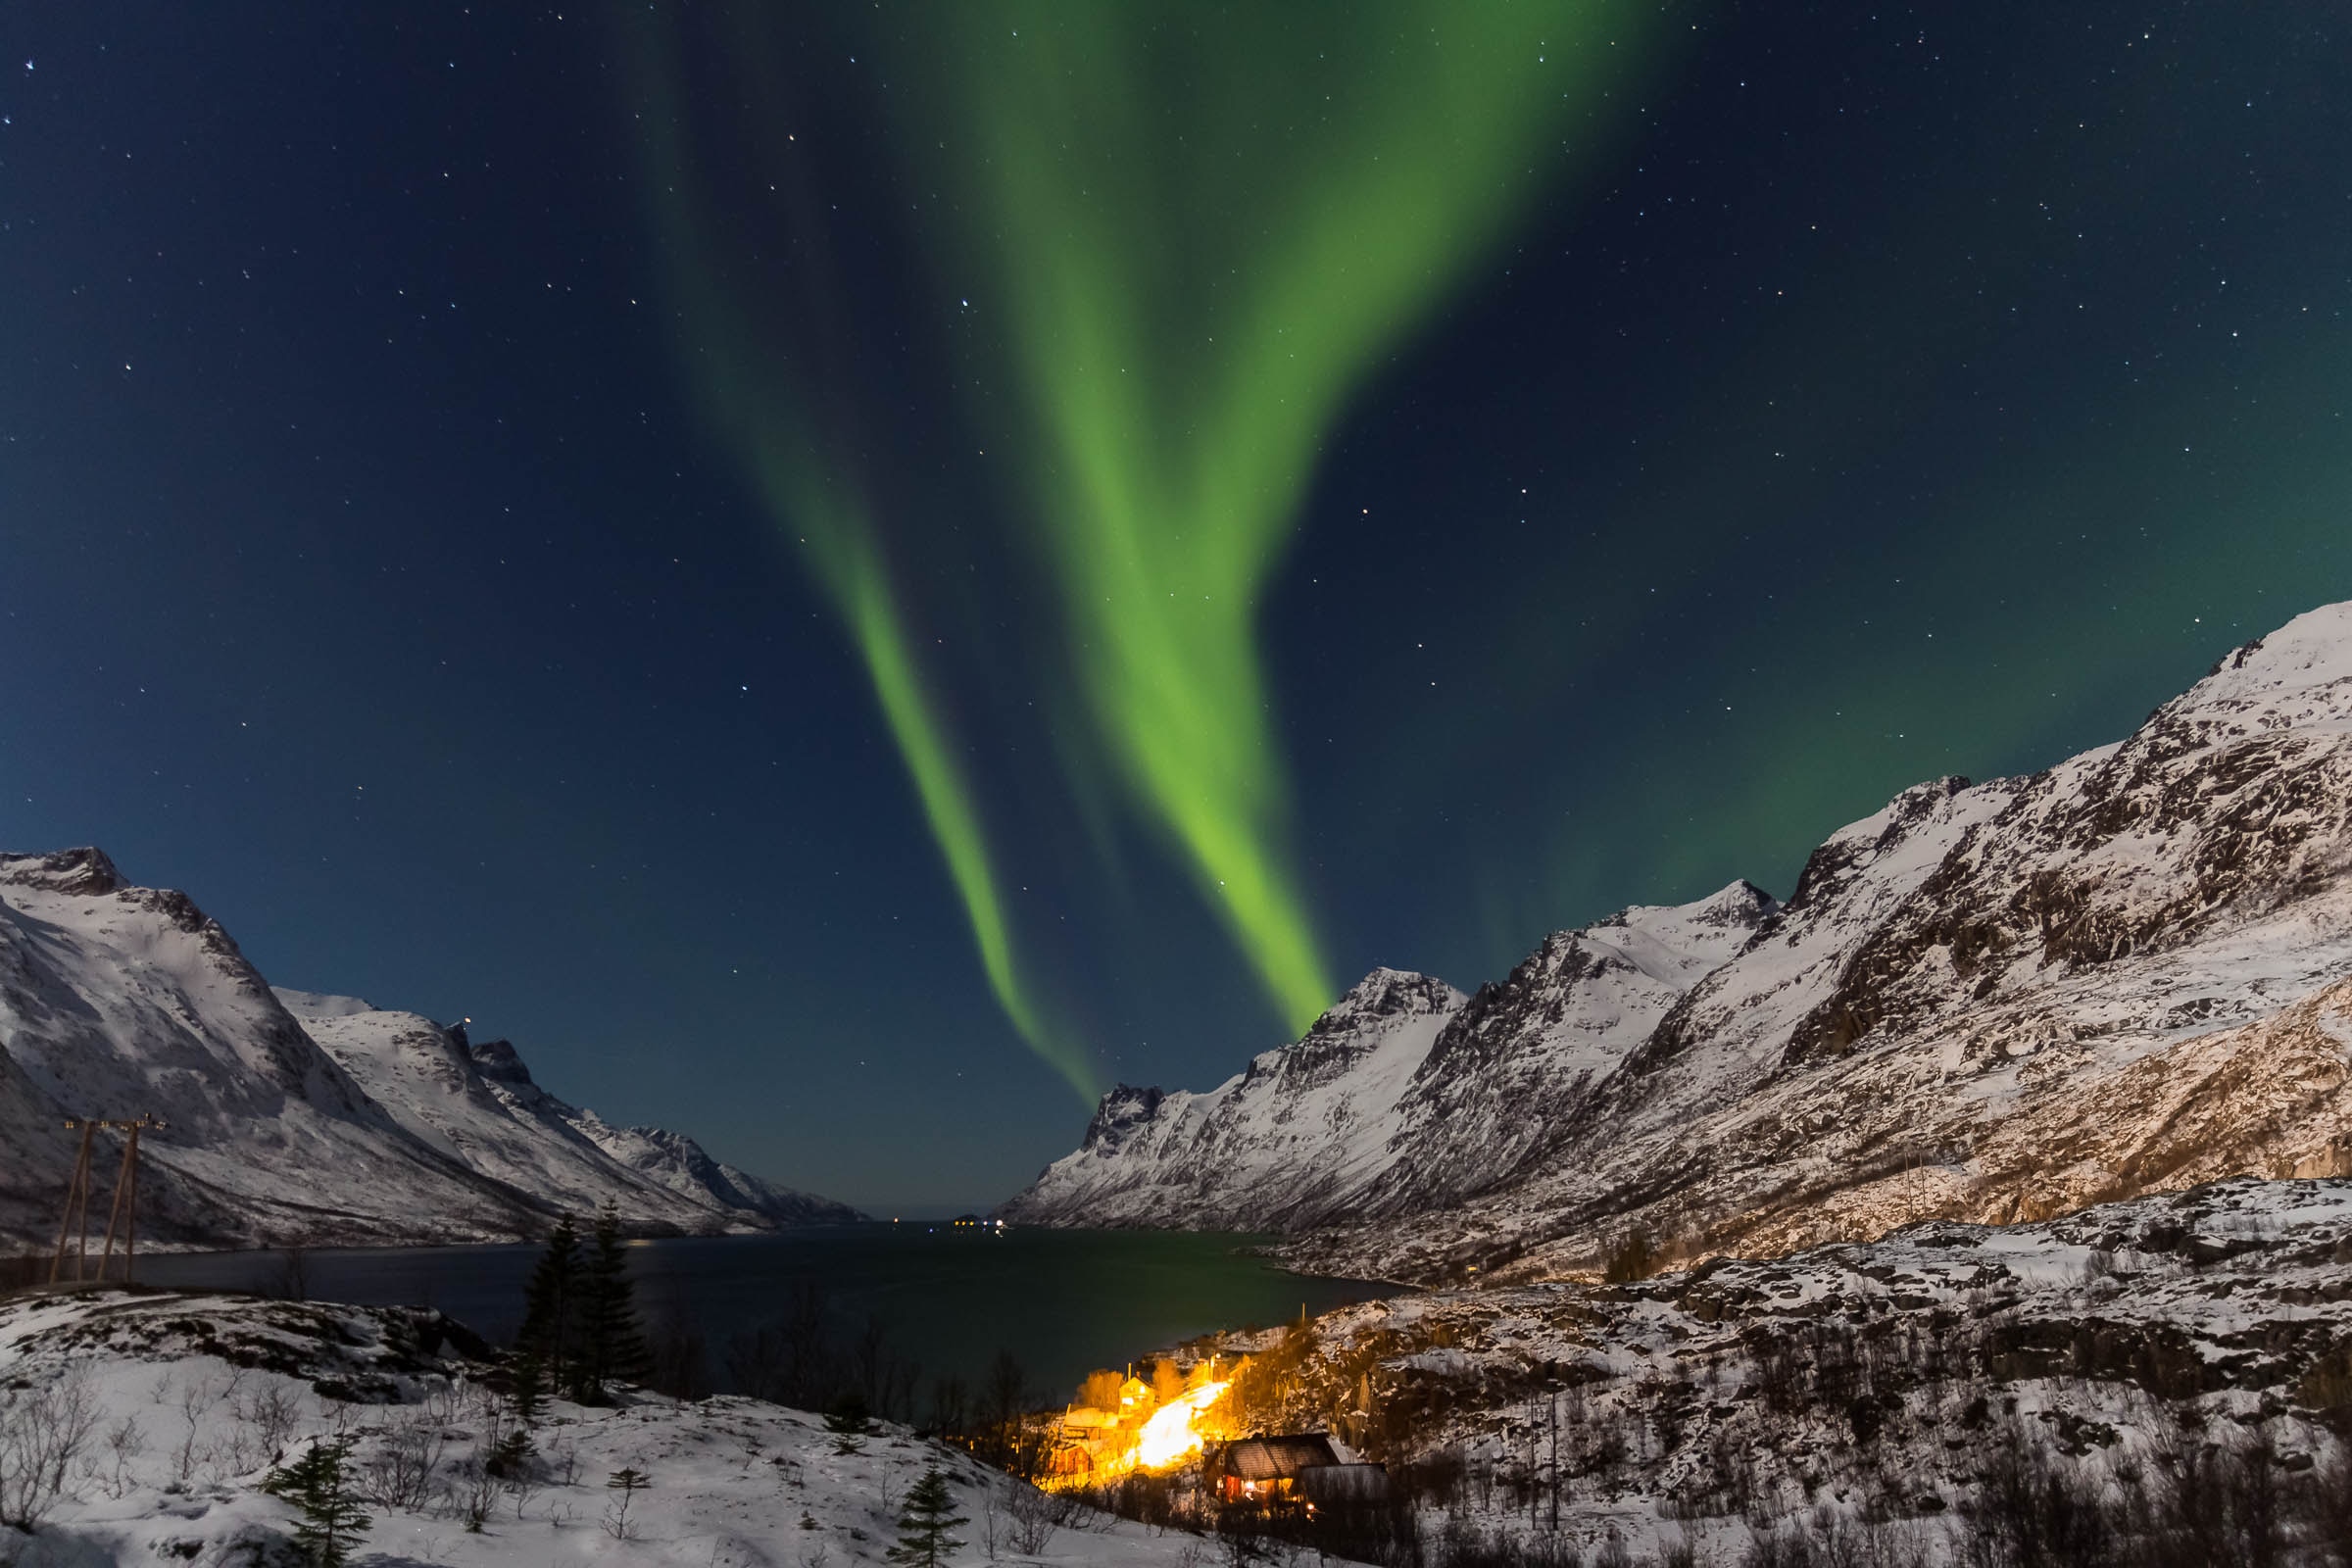 Photo © Bjørn Are With Andreassen
Capturing the northern lights is an art and a science, and contrary to popular belief, it doesn’t require an expensive camera or fancy lenses. To achieve the most amazing results, the number one factor is being in the right place, at the right time.
Locations such as Greenland, Iceland, Norway, Alaska and northern parts of Canada and Russia guarantee the best sightings – the closer you can get to the Arctic Circle, the better. You’ll be in amongst the action when a KP storm strikes the Earth.
The KP Index is the scale used to measure how strong an aurora storm is, KP0 being the lowest and KP9 being the highest. Other factors to bear in mind when photographing the lights are solar winds, aurora density and cloud coverage.
- Essential Camera Gear for Northern Lights Photography?
- Get Your Camera Settings Right
- Protecting Your Camera Gear
- Common Mistakes
- Infographic Version of Guide
What camera gear is essential?
I’m a firm believer in investing in experiences over gear. There’s no point in having the most expensive camera if you have no budget left for an actual trip.
With that being said, the better the gear, the better the photo – that is, providing you know how to use it properly.
The best gear for photographing the aurora borealis would be a DSLR with a full-frame sensor and a fast wide-angle lens, like the Canon 16-36mm/f2.8.
Another gear essential is a sturdy tripod. It will allow you to shoot at longer shutter speeds, which are essential to photograph the dancing lights.
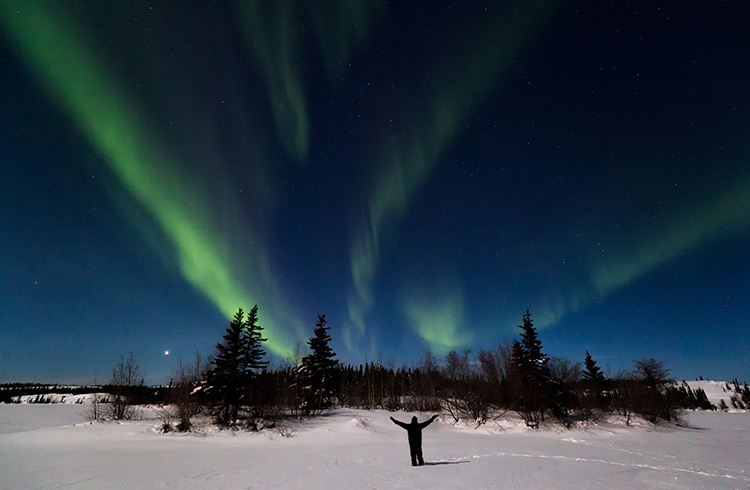
Get your camera settings right
1. Switch your camera to manual focus and set it to infinity.
2. Adjust your camera settings to the highest ISO possible, without the image becoming too noisy/grainy.
3. Open your aperture as much as possible by selecting the lowest possible F-number.
4. To capture details in an aurora shot – depending on its current activity level – you should stick to shutter speeds between ¼ of a second to 15 seconds.
Sometimes the aurora moves incredibly quickly, dancing effortlessly in the skies. Sticking to higher shutter speed will allow you to capture a multiplicity of detail.
Protect your gear
With high latitudes come cold temperatures. When I was photographing the aurora in Yellowknife, Canada it was -58ºF (-50ºC)! I made sure to attach the lens I was going to use before venturing outside. I also pre-attached my camera to my tripod.
The most important gear was my fingers. Without them, I couldn’t even turn my camera on. One of the best investments I have ever made was my down mittens.
A wireless shutter release remote also came in handy and allowed me to shoot from a distance of up to 100m while thawing in my car.
Common mistakes
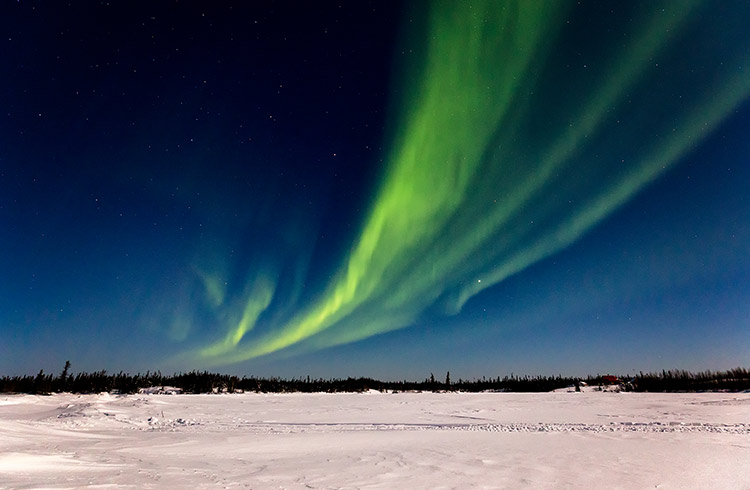
The biggest obstacle to capturing the Northern lights is a lack of patience. Although the aurora can be predicted up to a few days in advance, it’s impossible to guess the exact time. Don’t get disheartened if you don’t succeed at first. Keep trying as the reward is worth the wait.
Always remember to use a remote or a timer on your camera to release the shutter. It will drastically improve the sharpness of the photos.
Turning your dreams of photographing the aurora borealis into reality is much less complicated than you think. You might get cold and tired in the meantime, but when The Greek Goddess of Light is shining down on you, all your efforts will be rewarded.
Found these tips useful? Share this article as an infographic.
Copy the code in this text box to embed in your own website for FREE.

Related articles
Simple and flexible travel insurance
You can buy at home or while traveling, and claim online from anywhere in the world. With 150+ adventure activities covered and 24/7 emergency assistance.
Get a quote

No Comments